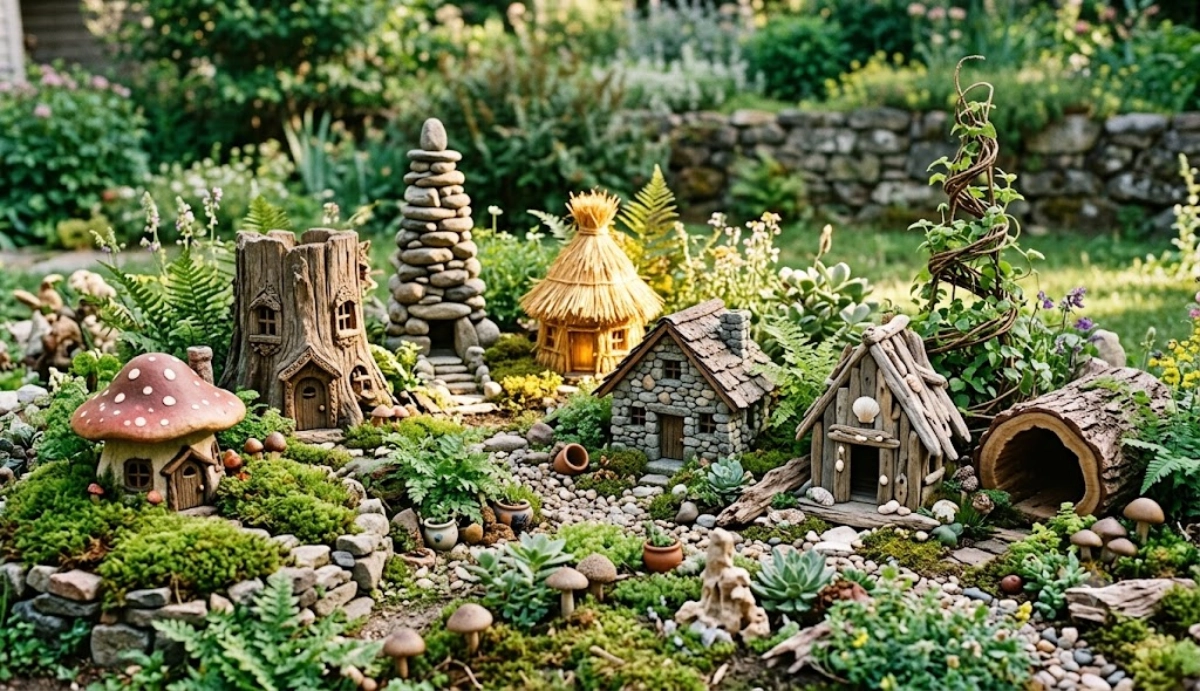
20 DIY Fairy House Ideas Using Natural Materials For Magical Gardens

Creating fairy houses from natural materials brings magic to gardens while teaching kids about nature and creativity. Your backyard becomes an enchanted world where imagination thrives. The best part? Most materials are completely free. Fallen branches, leaves, and stones all become building supplies.
These 20 DIY fairy house ideas using natural materials show you exactly how to create whimsical homes for garden fairies. Each project uses materials you likely have already. No special supplies needed. No expensive purchases required. Just creativity and natural treasures from your yard. Kids genuinely love building these magical spaces. Adults find the projects relaxing and rewarding.
🍄 1. Mushroom Roof House From Bark and Twigs
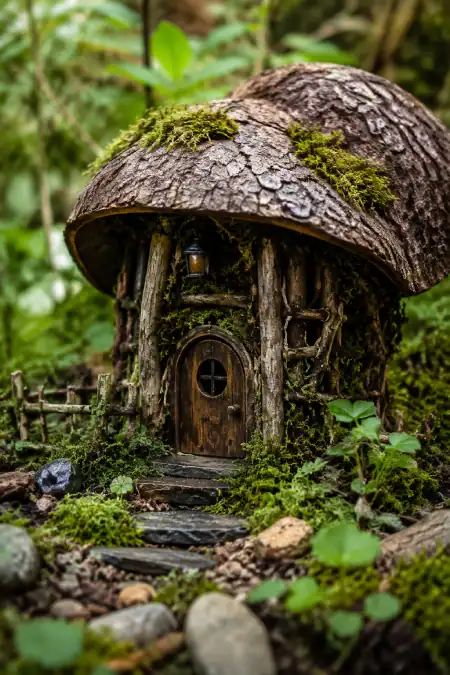
Create a cute mushroom-roofed fairy house using a curved piece of bark as the roof and twigs lashed together as walls. The mushroom silhouette is instantly recognizable and genuinely charming. Kids love building these because they look magical.
Gather a curved piece of bark, small branches, and twine. Lash branches into a rectangular frame. Attach the bark roof creating the mushroom shape. Add a tiny door from a flat twig. The house looks perfectly whimsical and costs absolutely nothing.
🌳 2. Tree Stump Home With Carved Details
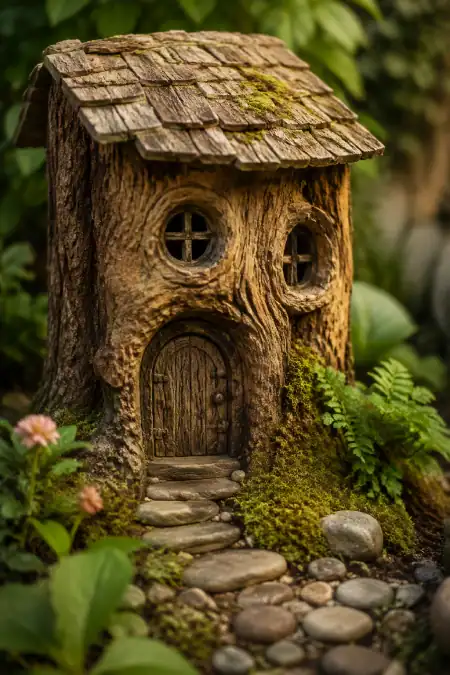
A flat tree stump becomes the perfect fairy house base. Carve simple details like windows or doors directly into the wood. The natural height makes it visible in gardens. Kids can paint or leave natural. The finished product looks genuinely inhabited.
Find a tree stump about 12-18 inches tall. Use a saw or knife to carve small windows and a door. Add a roof from a curved piece of bark or a flat rock. Place moss and stones around the base creating a garden scene.
🥜 3. Acorn Cap Toadstool Houses
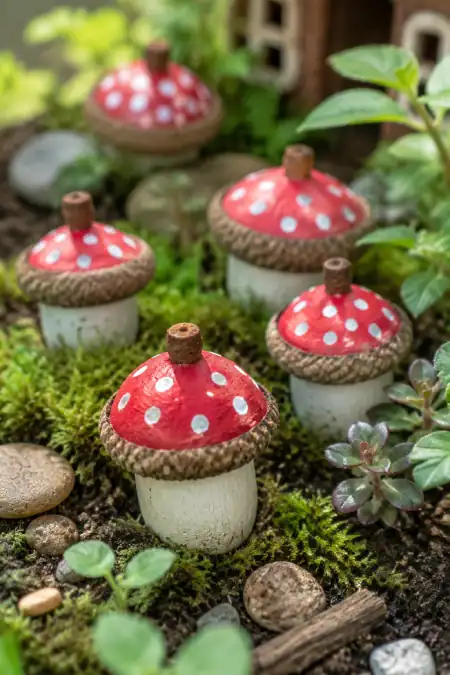
Acorn caps create perfectly tiny toadstool houses. Paint caps in bright red with white spots creating classic toadstool designs. These are genuinely quick to make and look adorable in fairy gardens. Kids especially love decorating these.
Collect acorn caps from the ground beneath oak trees. Paint with watercolors or acrylics in bright colors. Let dry completely. Stand on the garden soil among moss and plants. The tiny toadstools create miniature neighborhood vibes.
🍂 4. Leaf-Thatched Stick Frame House
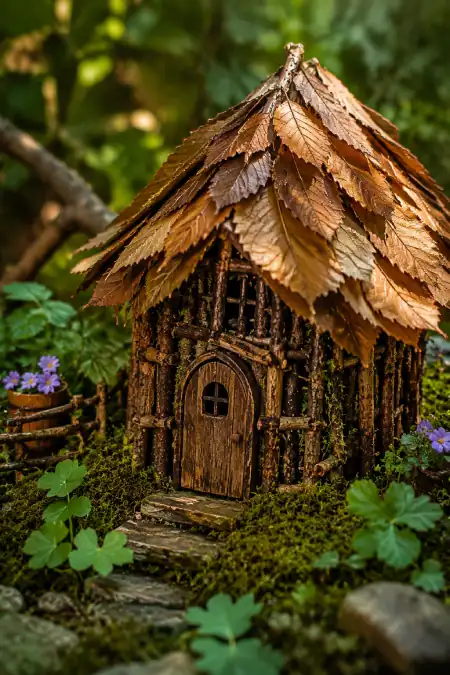
Create walls from carefully arranged sticks. Use dried leaves as thatch creating a thatched roof effect. The leaf thatch looks genuinely rustic and authentic. Positioning leaves overlapping creates water-shedding protection. The house looks like miniature cottages from storybooks.
Gather thin sticks and arrange in a rectangular frame lashing with twine. Create a peaked roof frame from thicker sticks. Layer dried leaves overlapping like roof shingles. Add a tiny door from a flat twig. The leaf thatch creates authentic cottage aesthetic.
🪨 5. Rock Cairn Tower With Stick Door
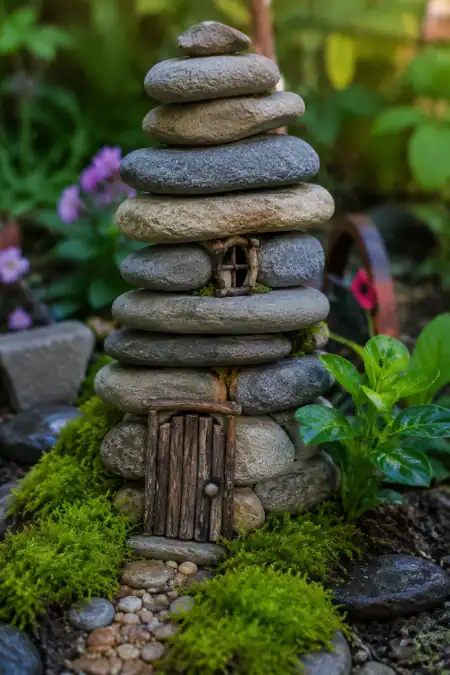
Stack flat river stones into a tower creating a stone fairy house. Add a small stick door creating entry. The stone tower withstands weather beautifully. Kids love stacking rocks and the finished product looks genuinely intentional in gardens.
Collect smooth flat rocks of similar size. Stack carefully creating a tower 12-18 inches tall. Use clay or small stones to stabilize between layers. Add a tiny stick door. Paint a window if desired. The stacked rocks create organic architectural charm.
🪵 6. Hollowed Branch Tube Home
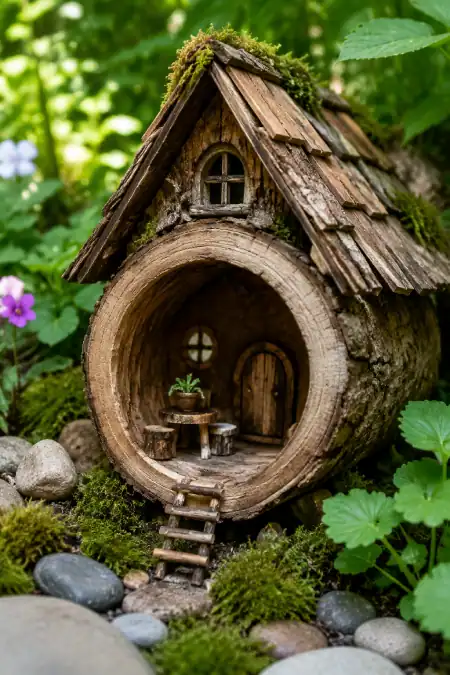
Find a hollow branch or tube-shaped piece of wood. This naturally becomes a cylindrical fairy house. Add stone or clay foundation. Top with a peaked roof. The natural hollow creates instant interior space. Kids are amazed by hollow branches that become homes.
Search for hollow branches in fallen deadwood. Clean interior gently. Position vertically or at an angle. Add a foundation from stones or clay. Create roof from curved bark or thicker wood. Place in gardens among moss and plants.
🌿 7. Woven Grass and Stick Dome
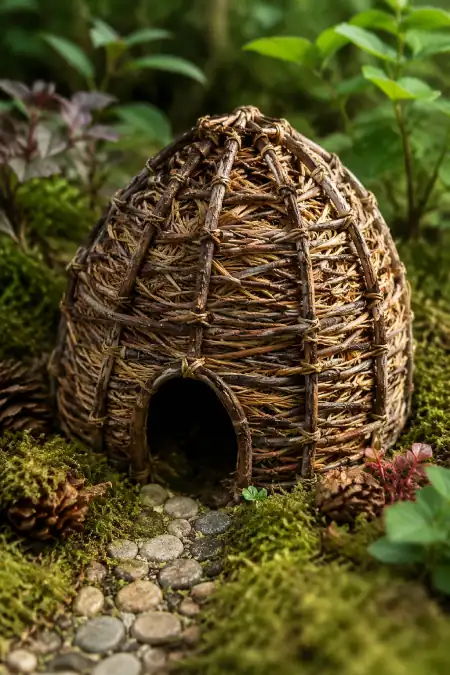
Weave grass and flexible branches into a dome structure creating an igloo-like fairy house. The woven texture looks genuinely beautiful. This project teaches weaving skills while creating magical homes. The finished dome looks professionally crafted yet completely natural.
Gather flexible branches and long grass or dried plant stems. Arrange branches into a dome frame. Weave grass in and out creating wall texture. Leave a small opening for the door. The woven pattern looks naturally beautiful.
🏠 8. Pine Cone Cabin With Twig Roof
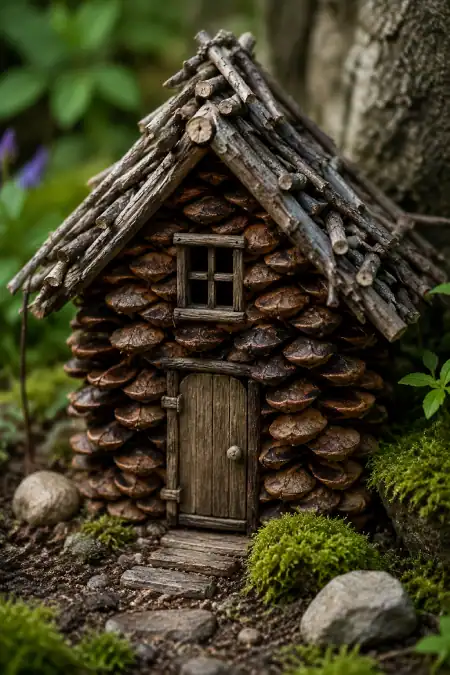
Use pine cones as wall “logs” arranging them into a rectangular cabin structure. Bind with twine or clay. Add a peaked twig roof. The pine cone logs look genuinely like miniature log cabins. Kids love using pine cones that feel rough and natural.
Collect pine cones of similar size. Arrange into rectangular cabin walls using clay or twine binding. Create peaked roof from thin twigs lashed together. Add a small door. The pine cone logs look perfectly rustic and authentic.
🌸 9. Flower Pot Turned Fairy House
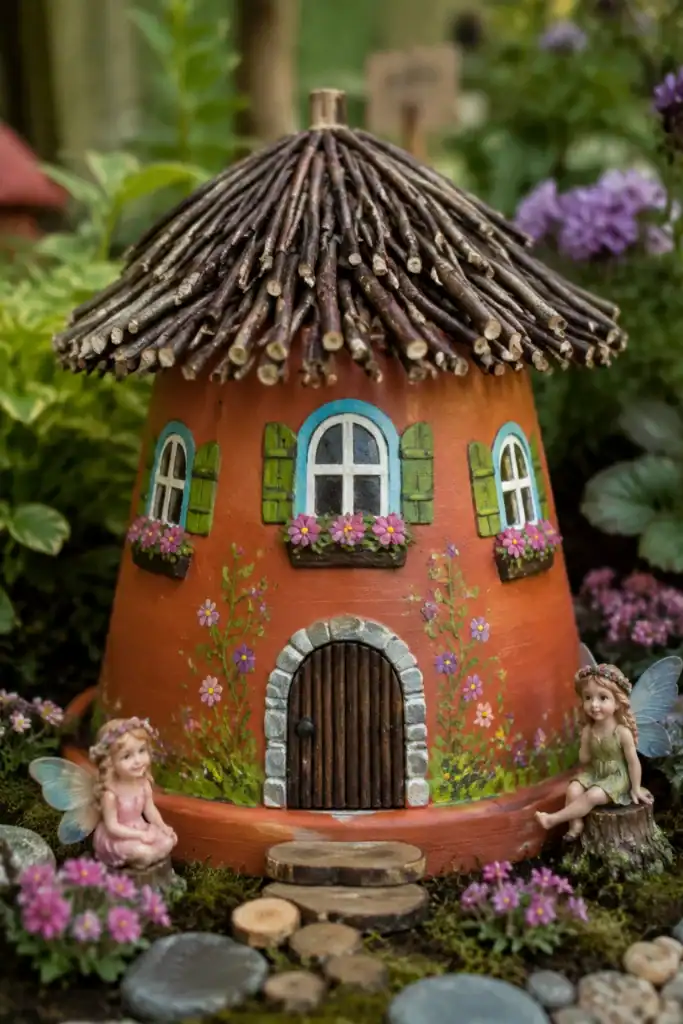
Invert a terra cotta pot to create house walls. Add windows and door painted directly on. Top with a peaked twig roof. The pot provides sturdy walls. Kids can paint designs. The finished house looks whimsical yet permanent.
Find a small terra cotta pot (4-6 inches). Paint or carve windows and door. Let paint dry. Add a roof frame made from sticks. Position in garden among plants and stones.
🍄 10. Mushroom Cap House With Door
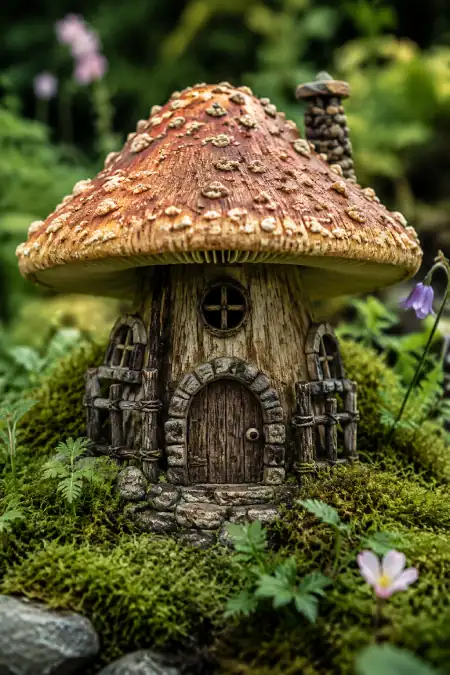
Find or craft a mushroom cap (real mushroom, clay, or carved wood). Position upright as the house. Add walls beneath from sticks or stones. Create a door at ground level. The mushroom top provides perfect roof protection. Kids love the storybook mushroom aesthetic.
Use a large real mushroom if available or carve one from wood/clay. Support vertically with stone foundation. Add stick walls creating an open chamber. Place tiny door furniture or decorative elements inside.
🌾 11. Straw Bundle Cottage
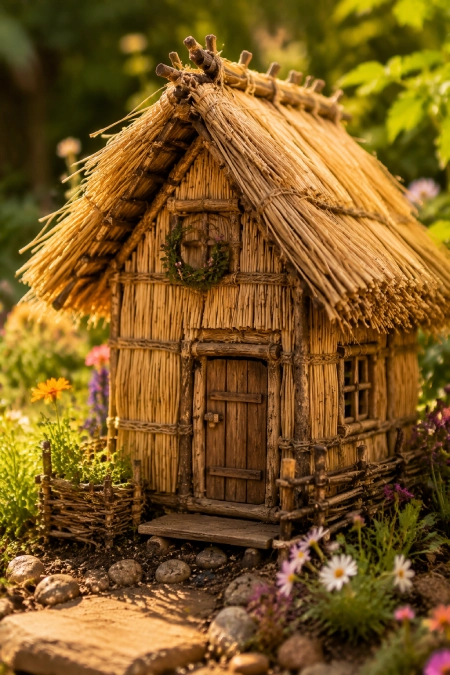
Bundle dried straw and bind tightly into cottage walls. Thatch a peaked roof with additional straw. The golden straw looks genuinely beautiful. The natural straw color coordinates with gardens. The finished cottage looks authentically rustic.
Gather dried straw or hay. Bundle into rectangular wall sections binding with twine. Arrange into cottage shape. Create peaked roof frame and layer straw thatch. Add small door and windows. The golden cottage glows warmly in gardens.
🪨 12. Stone and Moss Woodland Cottage
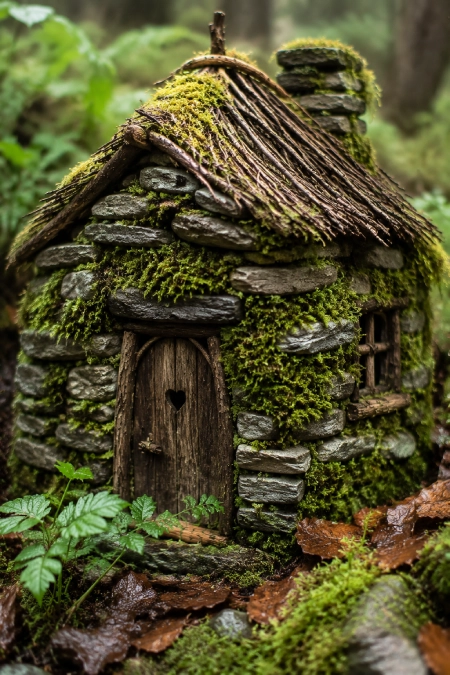
Build walls from flat stones stacked naturally. Use moss as mortar between stones. Create peaked twig roof. The stone cottage looks genuinely weathered and authentic. Moss growing between stones adds magical woodland aesthetic.
Collect flat stones of varying sizes. Stack into cottage walls using moss as filler. Arrange twig roof frame. Leave opening for door. The moss grows creating living walls. The cottage becomes more beautiful over time as moss establishes.
🍃 13. Rolled Leaf Tube House
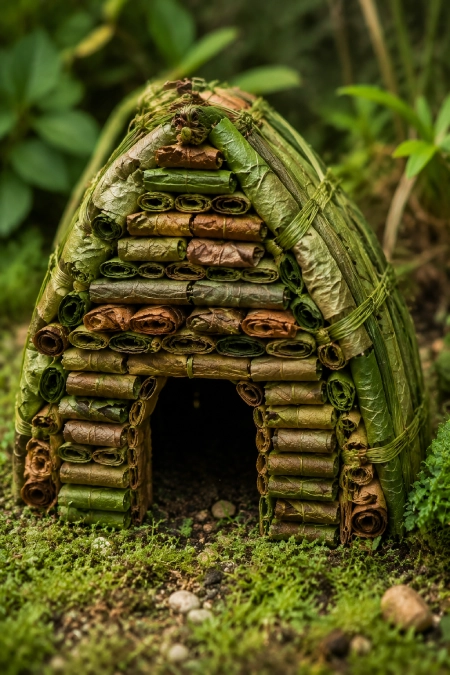
Roll fresh leaves tightly creating tube-shaped houses. Bind with grass stems or thin twine. Stack tubes into walls. The rolled leaves create organic texture. As leaves age, they dry and harden. Kids love rolling leaves and the finished house looks genuinely constructed.
Collect sturdy leaves. Roll tightly and bind with grass. Stack into rectangular wall pattern. Create peaked roof from rolled leaves or twigs. The house looks organically constructed from nature.
🌳 14. Driftwood Beach Cottage
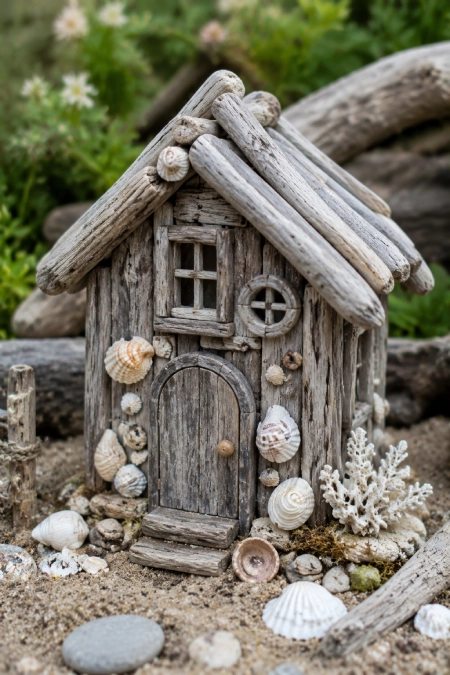
Use pieces of driftwood as building materials creating beach-themed fairy houses. The weathered wood has genuine character. Arrange into cottage structure. Add sand and shell details. The driftwood cottage looks perfectly coastal and weathered.
Collect driftwood pieces from beaches or rivers. Arrange into cottage walls. Bind with twine. Create peaked roof. Decorate with shells or sand. The weathered wood provides authentic seaside aesthetic.
🌿 15. Bark Shingle Cabin
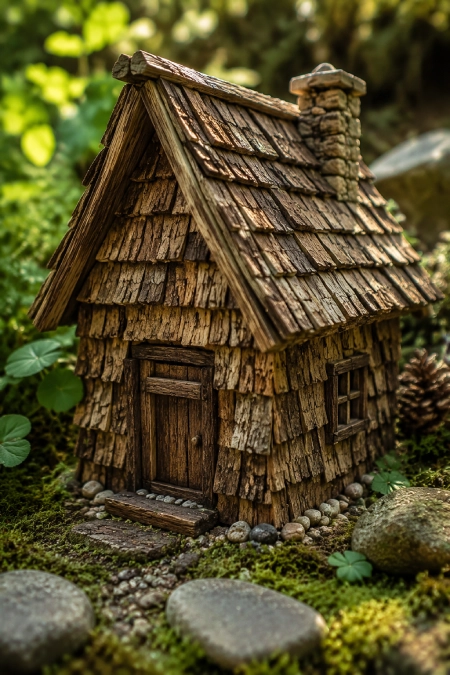
Use strips of bark peeled from fallen trees as shingles. Layer onto a stick frame creating a shingled cabin. Bark shingles look authentically rustic. The natural bark color coordinates with forest settings. The finished cabin looks professionally constructed.
Peel bark strips from fallen branches carefully. Create stick frame structure. Layer bark shingles overlapping like roof tiles. Add small door. The bark shingles create authentic rustic aesthetic.
🌸 16. Clay and Pebble House
Use clay to form cottage walls. Press small pebbles into wet clay creating stone-like texture. Add a twig roof. The pebble-embedded walls look professionally rendered. Clay hardens creating permanent structure. Kids love pressing pebbles into clay.
Shape clay into cottage walls. Press pebbles into wet clay creating texture. Allow to dry hardening. Add twig roof frame. Paint details if desired. The finished house looks like miniature stone cottages.
🍂 17. Branch Frame With Leaf Curtain

Create rectangular frame from branches lashing at corners. Hang dried leaf “curtains” from top creating enclosed space. The leaf curtains sway gently in breeze. The house looks like nature’s own fabric. Kids love the see-through walls and moving leaves.
Build frame from branches lashing securely. Tie dried leaves to top crossbar creating curtain effect. Leaves hang naturally creating soft walls. Position in garden among plants. The curtains move creating magical effect.
🪨 18. Stone Staircase Cottage
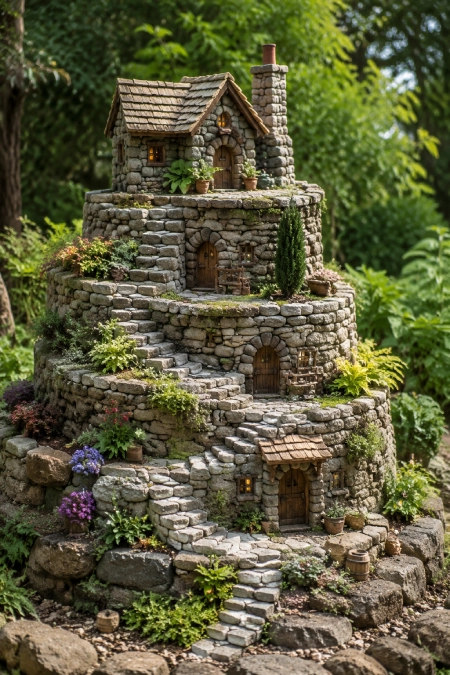
Stack stones in stairs creating cottage with tiered levels. Add walls on each level. Create peaked roof on top level. The tiered structure looks genuinely architectural. Kids love the climbing stairs. The house looks more complex than it actually is.
Collect stones of similar size. Stack in staircase pattern creating increasing height. Add walls on upper levels using more stones or sticks. Create roof on highest level. The tiered design creates visual interest.
🌳 19. Hollow Log Sanctuary

Find a partially hollow fallen log. Enlarge opening gently creating entrance. The hollow interior becomes the fairy house naturally. Add a roof frame on top. The log provides protection and shelter. Fairies naturally inhabit hollow logs in storybooks.
Locate a fallen log with partial hollow. Clean interior carefully. Add roof from curved bark or flat wood. Position among plants and stones. The natural hollow creates perfect fairy sanctuary.
🌸 20. Flower and Vine Spiral Tower
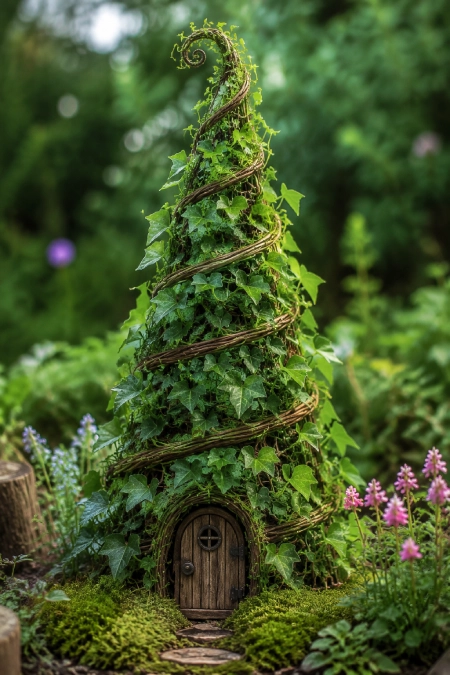
Weave ivy or other climbing vines into spiral tower shape. Bind with twine creating structure. The green tower looks living and magical. As vines grow, the tower becomes more established. The living structure changes with seasons creating evolving garden art.
Train ivy or flexible vines onto spiral frame made from twine. Weave gently creating spiral pattern. As vines grow, they establish the structure. Add small door at base. The green tower looks magically alive.
🛠️ Quick Practical Guide
Best natural materials to collect:
- Fallen branches and twigs (various sizes)
- Bark pieces (curved and flat)
- Stones and river rocks (various sizes)
- Acorn caps and pine cones
- Dried leaves and grasses
- Hollow branches or logs
- Driftwood (from beaches or rivers)
- Clay (from garden or purchase)
- Moss (growing or dried)
Where to find materials:
- Backyard (fallen branches, leaves, rocks)
- Local parks (fallen wood, stones)
- Beach areas (driftwood, shells, sand)
- Wooded areas (bark, twigs, moss)
- Purchased supplies (clay, paint)
Tool requirements:
- Saw or knife (for cutting wood)
- Twine or natural binding materials
- Optional: paint, glue, small nails
- Most projects use only natural materials and twine
Safety considerations for kids:
- Supervise all cutting or tool use
- Use safety gloves when handling rough materials
- Check areas for insects before collecting wood
- Avoid treated wood or harmful chemicals
- Keep tools age-appropriate and safe
- Clear sharp edges carefully
Building principles:
- Sturdy foundation prevents tipping
- Peaked roofs provide water protection
- Binding materials hold structures together
- Interior shelter appeals to imagination
- Doors and windows add character
- Natural aging increases beauty over time
Size considerations:
- 6-12 inches tall — good starter size
- 12-18 inches — classic fairy house height
- 18-24 inches — elaborate detailed houses
- Smaller = easier construction
- Larger = more impressive appearance
Garden placement tips:
- Position among plants creating natural setting
- Place near water features when possible
- Add pathways leading to houses
- Create neighborhoods of multiple houses
- Position where visible from garden vantage points
- Avoid heavy foot traffic areas
- Ensure shade protection for delicate materials
Seasonal considerations:
- Spring — build new houses, refresh existing
- Summer — maintain, add details, photograph
- Fall — collect new materials, weathered appearance increases charm
- Winter — protect fragile structures from heavy snow
Durability tips:
- Seal wood for weather protection (optional)
- Repair damaged areas promptly
- Replace materials as they age
- Peaked roofs improve weather protection
- Natural materials age beautifully
Kid engagement strategies:
- Let kids collect materials
- Allow creative decorating
- Encourage imagination stories
- Take photos of houses built
- Create fairy families to inhabit houses
- Make multiple houses creating neighborhoods
- Update seasonally with new decorations
Fairy house landscaping ideas:
- Add tiny pathways using pebbles
- Create gardens with miniature plants
- Add water features (shallow dishes)
- Position decorative stones
- Plant moss around bases
- Add miniature furniture if desired
- Create story scenes around houses
Common mistakes to avoid:
- Using materials that rot quickly
- Building without foundation (tipping easily)
- Creating hollow roofs (water leaks)
- Using plastic materials (not natural)
- Building too tall (instability)
- Neglecting maintenance (weather damage)
- Forgetting doors and windows (character)
Cost breakdown:
- Free materials collection — $0
- Natural twine for binding — $5-10
- Optional paint or sealant — $10-15
- Total cost — $0-15 per house